As a Real Estate agent, I know that one of the safest places to invest is in your Master bath. Raise your hand if you have dream baths pinned on your pinterest board! We all want a master bath that’s not only functional, but serves as a retreat from kids, work, or the chaos of life.
Here are a few of my favorite dreamy spaces,
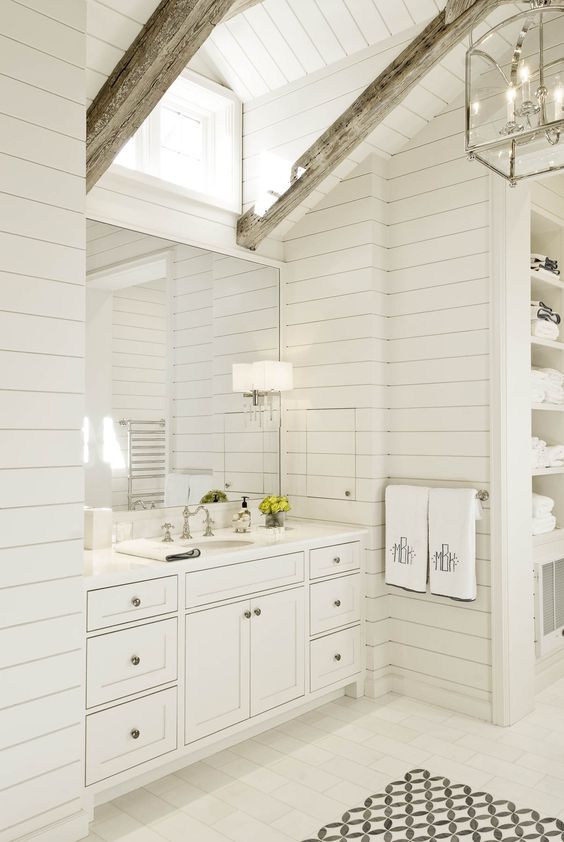
Like this stunning bath by Collins Interiors. From the natural light, to the shiplap, to the ceiling beams, this bathroom makes my heart beat faster!
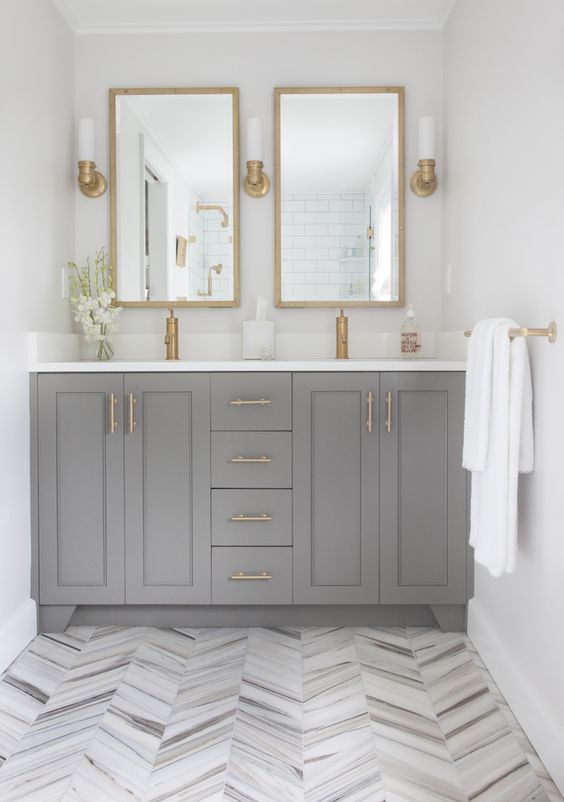 I have seen this stunning bath all over pinterest, the herringbone floors combined with gray cabinets and gold accents create a beautiful and sophisticated space. (Designed by Erin Gates).
So how can you take what you see from your favorite retreats on Pinterest and create your own dream bath without spending too much? I’m sharing some of the places I saved on my bath, and also where I splurged.
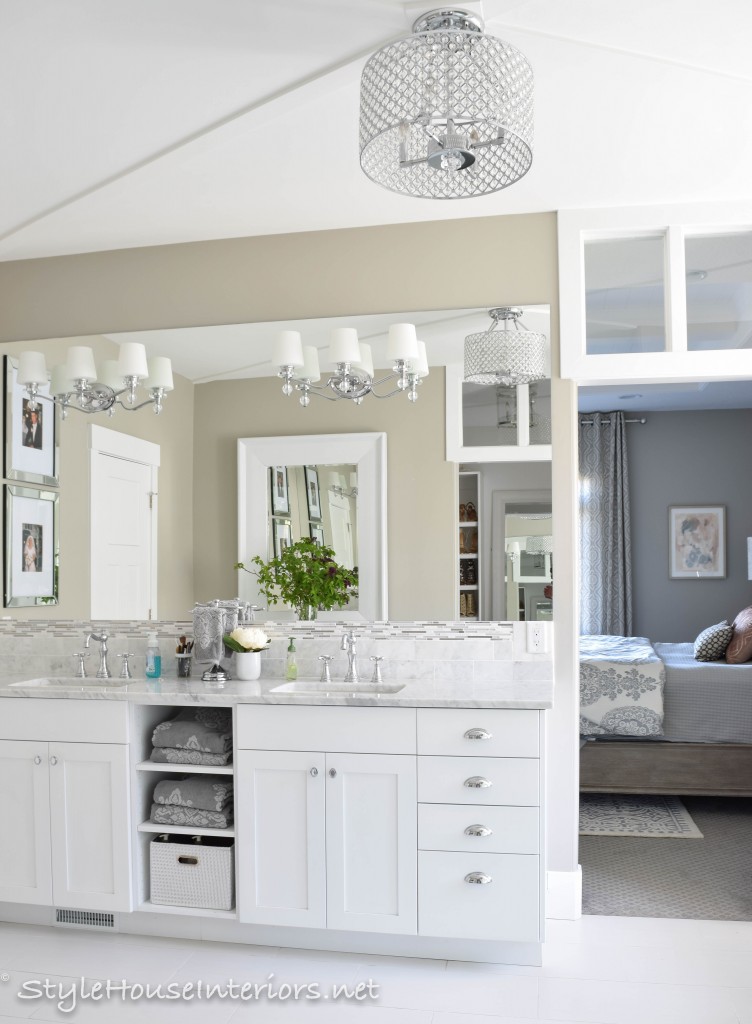
My master bath is a decent size, but it’s not enormous, it makes it hard to photograph though. When you have a smaller space it’s important maximize your space for functionality, so it’s important to focus on the details. One way I chose to add detail was by focusing on the ceiling. In my previous bath we had a box ceiling with crown moulding. In this home we skipped that to save money. To add interest to our ceiling, I had the drywall installer do a smooth finish on the ceiling, then had our finish carpenter add an X to the ceiling with trim. To make the transition from the textured ceiling to the smooth ceiling he built the casing for the transom window and added a piece of glass.
I kept our vanity area simple, I used leftover tile from our shower as a backsplash and went a little taller than the average backsplash to compliment our taller faucets.
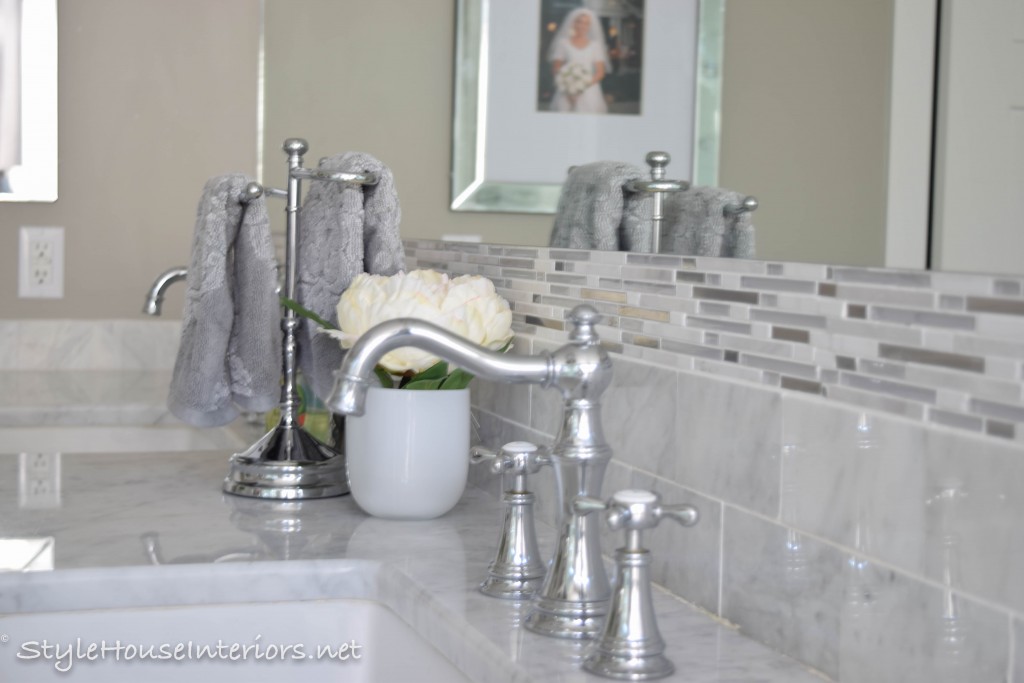
I spent a little more money on the faucets in my master bath and our guest bath, we used the Moen Weymouth faucets and I love them! You can find them HERE.
I saved a little on my vanity lights by going with some that were similar to the ones I wanted but half the price. You can find the ones I used HERE. The ceiling fixture was an online classifieds find (unused) you a similar one HERE.
Probably my biggest splurge in my bathroom was on my clawfoot tub and faucet, they were a non negotiable for me. Which is funny because I rarely use the bathtub, personally I like showers better ;). For my husband it a steam shower was non negotiable, he works outside all yr and we have some harsh winters, so it helps him warm up.
You can find the light I used over my tub HERE, I was able to find mine at an antique store for $40.
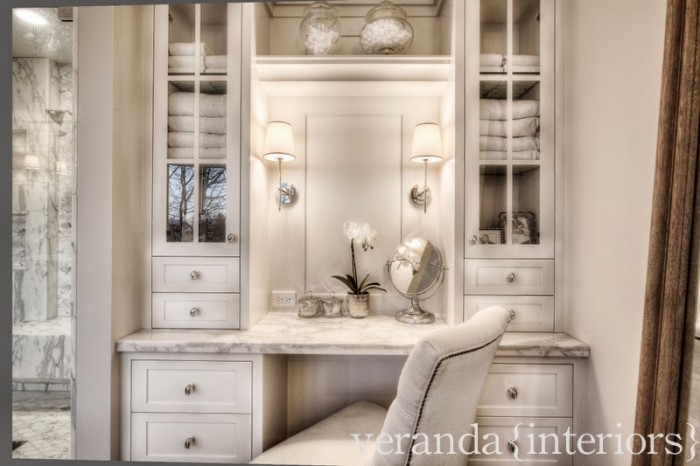
On the other side of my bathroom I’ve been planning to add a vanity like this one from Veranda Interiors, I am in love with this vanity! However, my cabinet guy told me it would be a few thousand dollars and well, priorities… I have other things I’d rather do first!
So as a temporary solution, I added an accent table we’ve had for yrs that I painted white, and added an oversized mirror, also an unused item (you can never have too many mirrors!) I should note, that the plans were drawn for a linen closet for that space. I knew that would be the first thing you see when you walk in my room, also it would be the reflection while I was standing at my sink, so I didn’t want to look at closet doors.
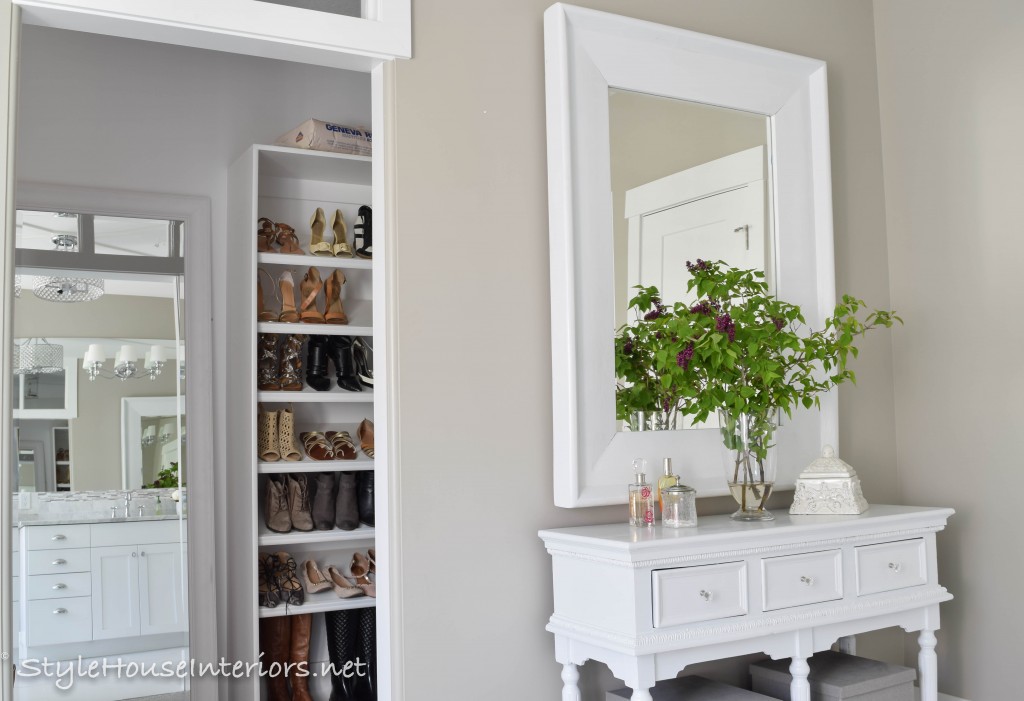
When we had our finish carpenter building our shelving in our closet, I had him leave an opening directly across from the doorway to leave a place for our full length mirror. That way I have room to stand back, also it’s the first thing you see when you walk into our bathroom, rather than hanging clothes, or shoes.
I’ve loved how my bathroom functions, it’s smaller than what we’ve had in previous homes, but it doesn’t suffer on style. I hope this inspires you to come up with budget friendly ways to create your dream bathroom.
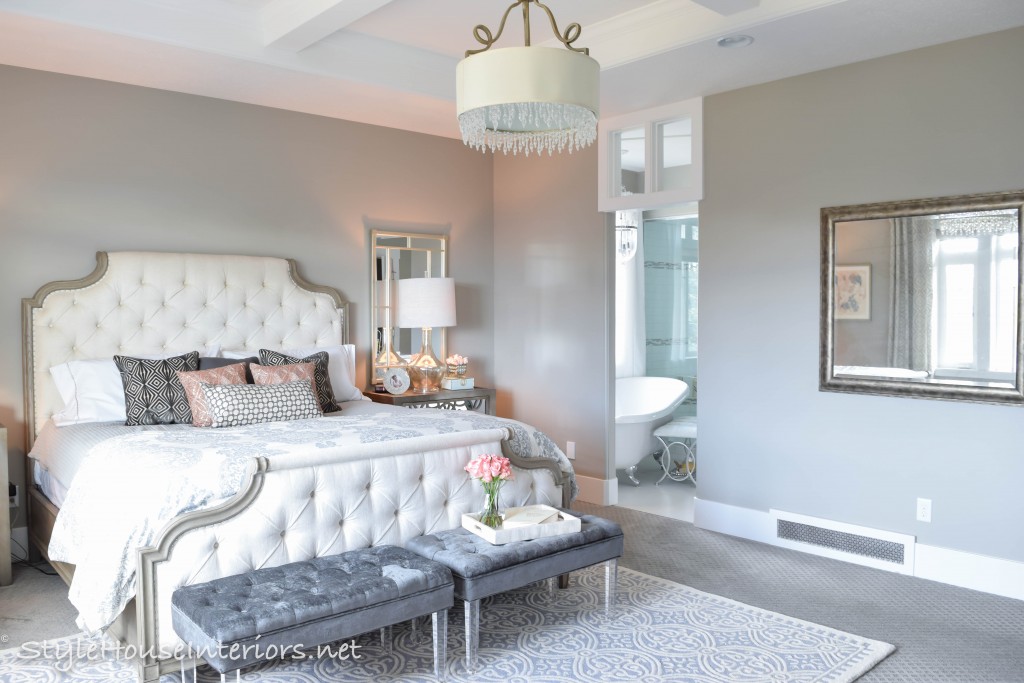
Next on our list is to add sliding doors to the entrance to our bathroom! We are working with ArtisanHardware.com to make custom doors, I can’t wait to show you! You can see my full master bedroom and where I splurged and saved HERE.
Let me know if you have any questions! More sources included below!
Xoxo
Jen



The gray bathroom is done by Erin Gates, Elements of Design blog! Love you site and makeover!
Thanks Shelle! I’m so happy I can giver proper credit now 🙂
That beautiful bath is by Erin Gates, elements of design!
Thank you Marie! I knew I could count on you guys to help me find her 🙂
That beautiful grey bathroom is by Erin Gates, Elements of Style.
Thanks Aimee! It’s been shared so many times I couldn’t remember/find the Designer! I’ll give her credit!
The bathroom is designed by Erin Gates from Elements of Style https://www.elementsofstyleblog.com/2014/09/my-bathroom-the-look-for-less.html
It’s her own bathroom!
Thank you for the link, I’ve updated my post! Jen
Beautiful bathroom! Would you please be able to tell me what floors you used in this bathroom? Thanks so much.
Thank you Trish, I don’t have the info on the tile floors at this time but I’ll see if I can find out!